This tutorial explains how to configure virtual device and run your application on Android virtual device.
Background
In the previous tutorial, you have seen how to run and debug your Android application on your hardware Android device. If you don’t have an Android hardware device, you don’t need to buy it. Android Studio provides us support for virtual Android devices. This tutorial is all about Android virtual devices.
Android virtual device
Android SDK includes Android virtual device (AVD) or called mobile device emulator. It allows you to develop, test and run your Android application on your computer without even having and Android hardware device. Multi core processors make it fast, powerful and feature rich.
Running app on Android virtual device
You can run your app on Android virtual device by using Android Studio or if you have an APK file of your app then you can directly drag that file on emulator to run it. If you want to run through Android Studio follow these steps.
- Open your project in Android Studio (if you don’t have any, you can create by following this tutorial)
- Click on Run icon in the menu bar or right click on your project’s root directory and click run.
- A new window will appear to select the deployment target (if you are using for the first time probably you will come across an error that some required files are missing, you can download by clicking on download button).
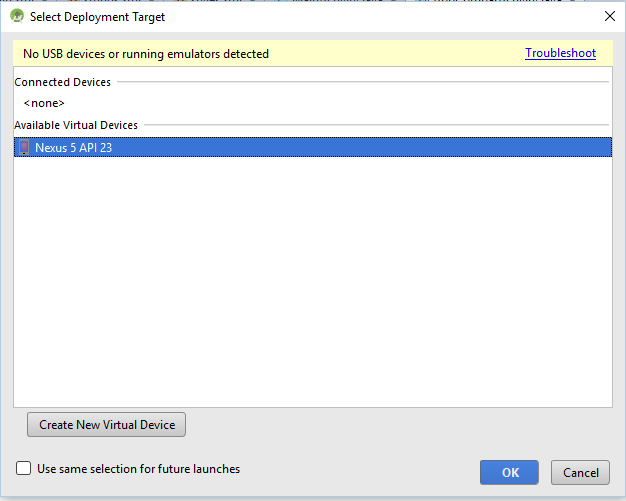
Select deployment target
- It shows list of available virtual devices. You can select anyone.
- If you want to use this deployment target always just click on Use same selection for future launches.
- Click OK
- If you don’t see any required virtual device, you can create one for you.
- Select AVD manager in the menu bar.
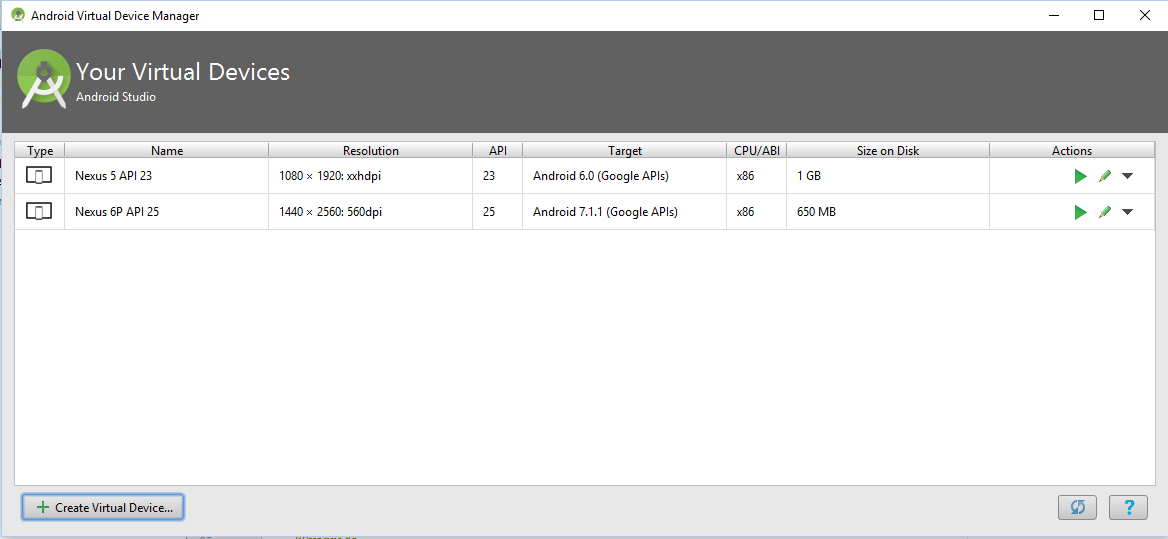
create virtual device
- Click on Create Virtual Device
- Select Hardware from the list and click Next
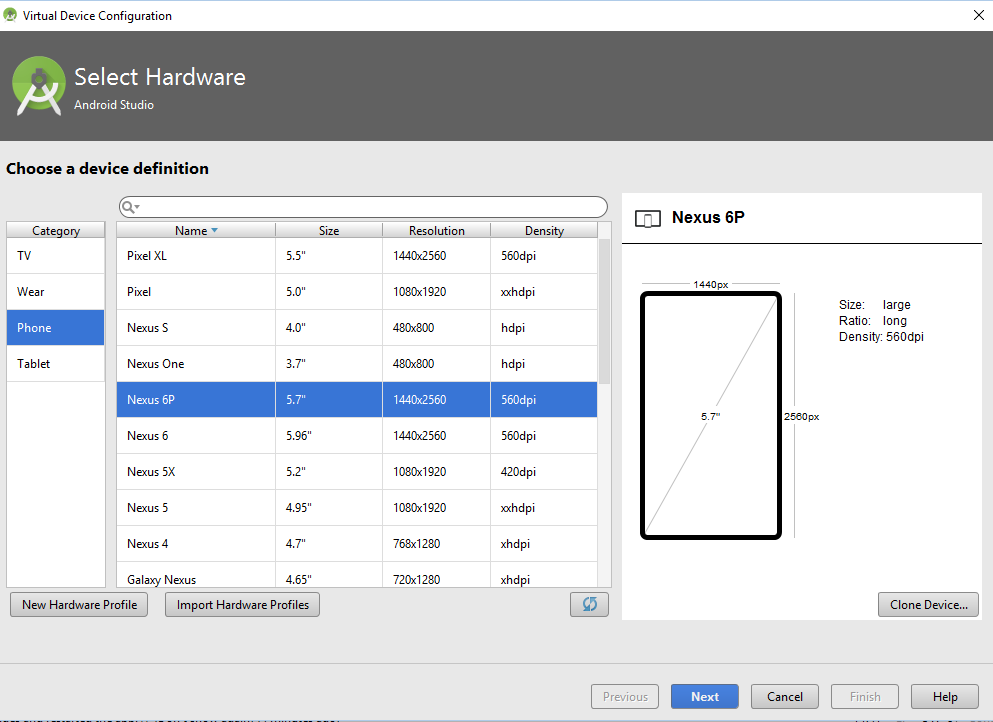
Select hardware
- Select System Image (choose recommended one) and click Next
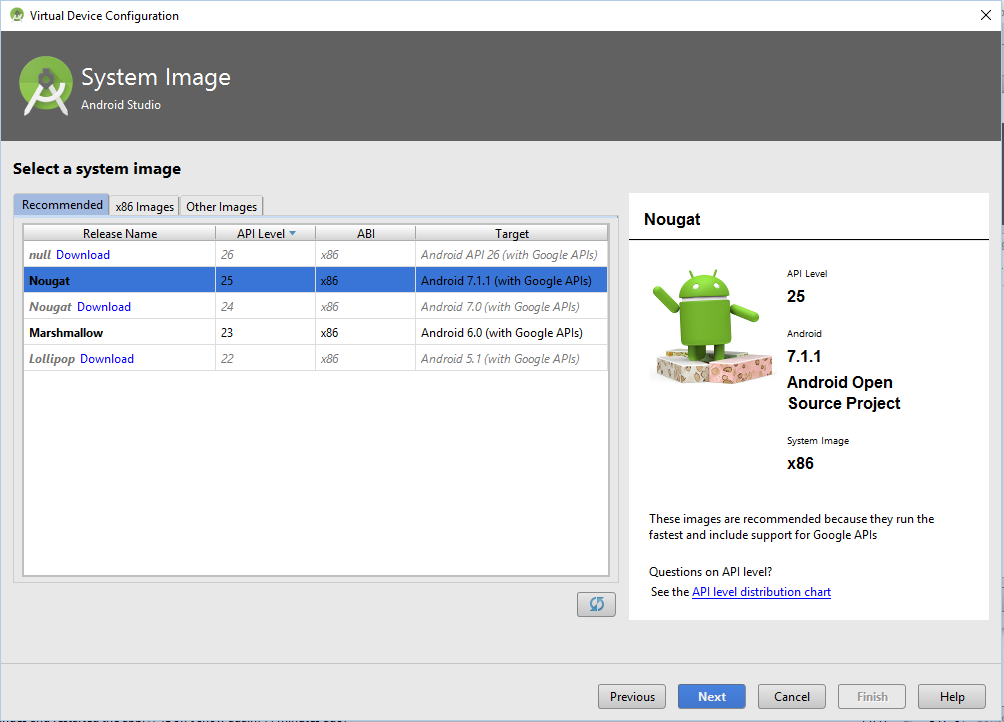
System Image
- Verify configuration and click Finish
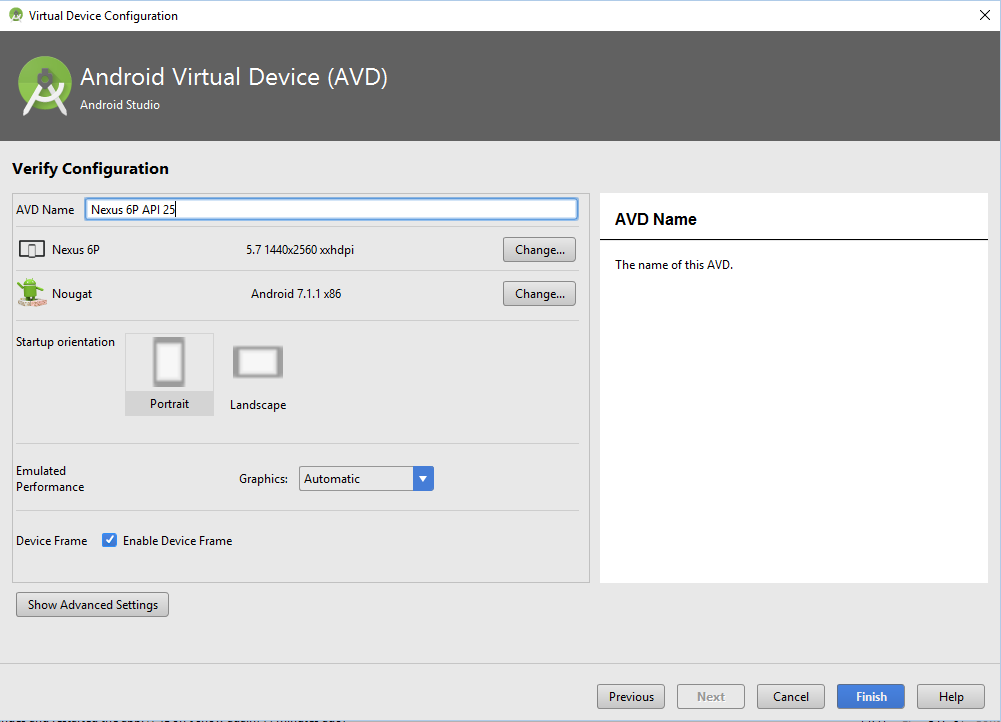
Verify configuration
- Now click on Run and select your newly created virtual device as a target device.
- Emulator will start launching as
Loading emulator
- APK file will be installed.
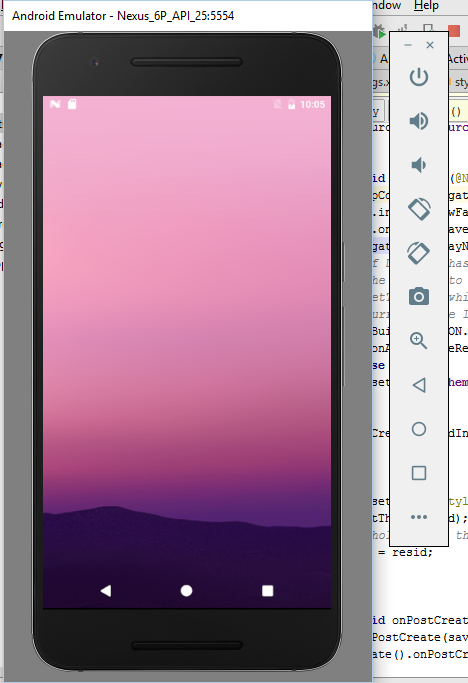
Emulator
- And it will run your app as
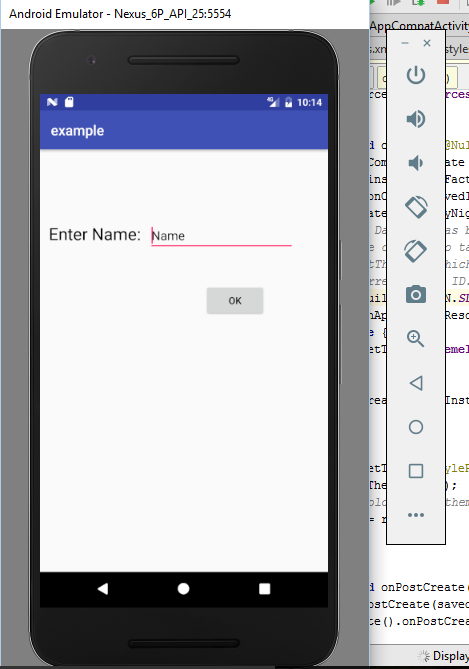
App on emulator
Android Studio also allow us to customize your emulator. You can see a vertical menu bar to the right of emulator. This is used to customize your app like change orientation, volume setting, take a photo and much more. So you can run, debug your app by using Android virtual device very easily and quickly.

Thanks a lot. You have explained the process so beautifully. This is really so helpful to me…