This tutorial explains how to prepare your Raspberry Pi for the first start, connecting peripherals and boot Raspbian for the first time.
What you need
1. USB mouse
2. USB keyboard
3. LAN cable
4. HDMI cable
5. HDMI monitor or TV
6. SD card with Raspbian installed (read this tutorial for more info)
7. Micro USB power adapter. You can use your phone power adapter to do this or a USB to micro USB cable connecting to your computer. However some computer USBs want supply enough power to your Raspberry.
Connect the Cables and Start
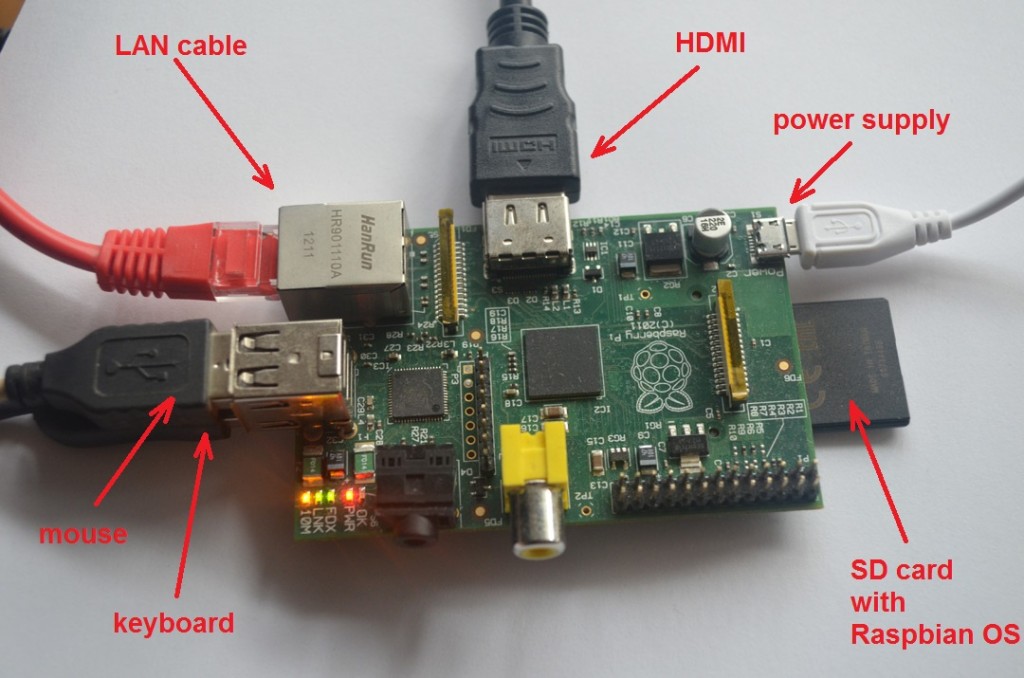
1. Connect your mouse and keyboard according to the image above
2. Connect your Raspberry to your router using the LAN cable
3. Insert SD card with Raspbian image installed on it (read this tutorial to find out how to install Raspbian on SD card)
4. Connect Raspberry to your monitor or TV using the HDMI cable
5. Connect the power supply to your Raspberry micro USB port. When you feed the Raspberry with power it starts automatically. You can unplug the cable to shut it down.
Raspberian First Start
When you start your Raspberry with Raspbian OS for the first time you will see following screen
Note: if the screen is not shown on first start you can call it with following command:
sudo raspi-config
What I do here is press Enter key on the keyboard with option 1 selected – Expand filesystem. After the expand is done you may want to go trough the other options like changing your root password etc.
When finished use the tab key on your keyboard to go to <Finish> and press Enter.
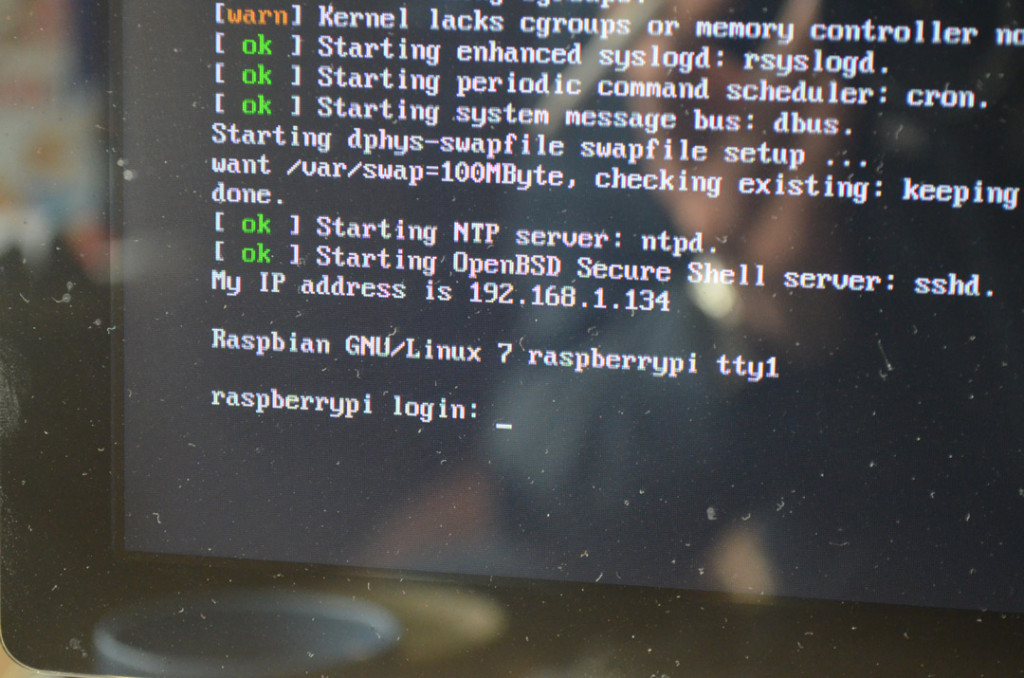
The OS will reboot and after a few seconds you will see the login prompt
Default Raspbian user is: pi
and the password is: raspberry
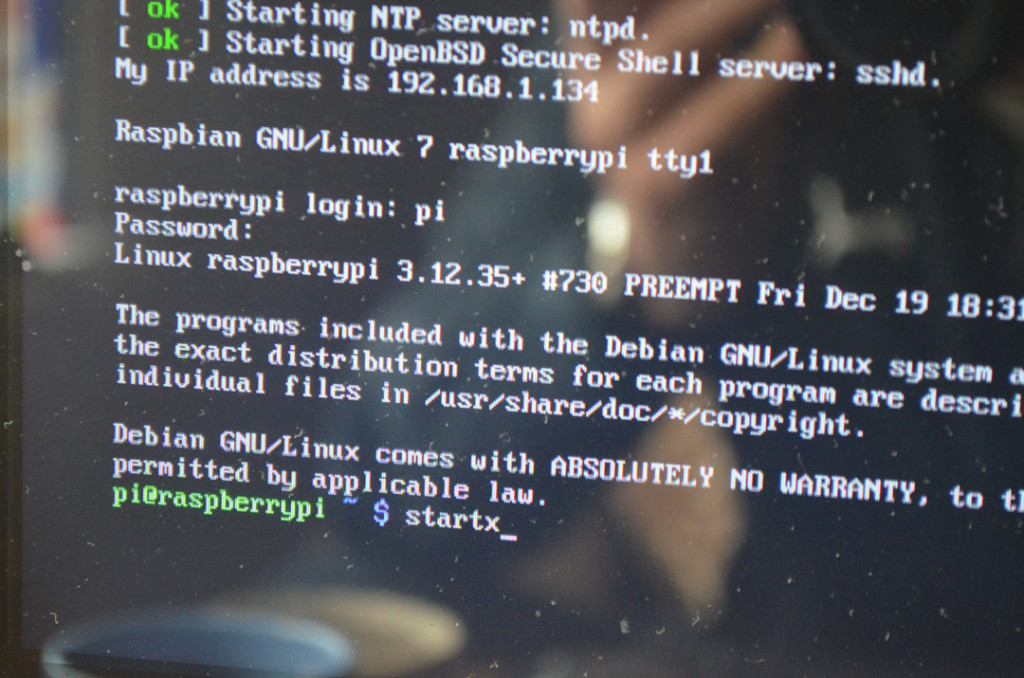
Thats it! If you want you may now start the graphical interface GUI by typing:
startx
You can also check for software updates by running the command:
sudo apt-get update && sudo apt-get upgrade
In my next tutorial I will show you how to connect remotely to your Raspberry using SSH and PuTTY.

Hi, i am beginer how can i use netbeans to write the codes of raspberry pi,think you
Hi,i am beginer how van i use netbeans IDE to write thé codes of java for raspberry pi
There will be no difference in your code at all, no mater what IDE you use. What differs from one IDE to another is the way you include external libraries (JARs) to your project.
This are the simple steps you add a JAR to your project:
step 1- open NeatBeans and create a new project or ctrl+shift+N.
step 2-Select Java under Categories and java application under project then Next.
step 3-Give your project name and set project location and finish.
STEP 4-right click on Libraries and Add JAR/FOLDER.
step 5 -Select the jar file you want to add.