This tutorial will show you how to install Raspbian OS to an SD Card
Prerequirements
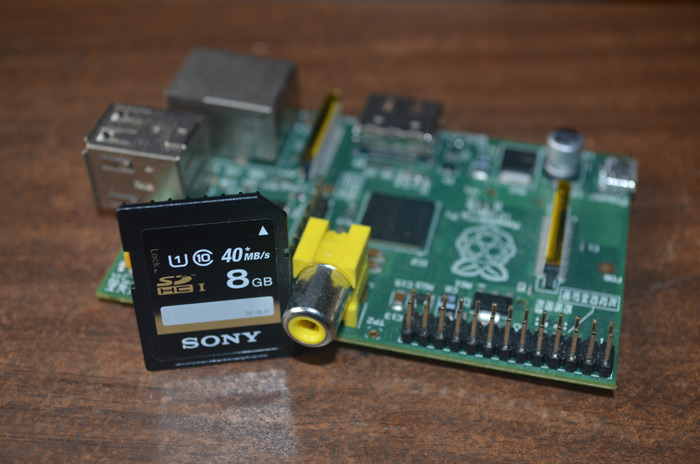
Yow will need a PC/Mac with SD card reader, build in or external. I recommend using at least 4GB SD card Class 10. The card must be FAT 32 formatted before you can apply the Raspbian image to it.
Download Raspbian
Although there are several possible Raspberry Pi Operation Systems available for download I recommend using Raspbian – it has a lot of advanced features and was the official Raspberry OS before NOOBS came out.
To download the Raspbian image go to the download page and take the ZIP or Torrent. If you download the ZIP – unzip it to extract the .img file
Install Raspian Image to SD Card with Windows
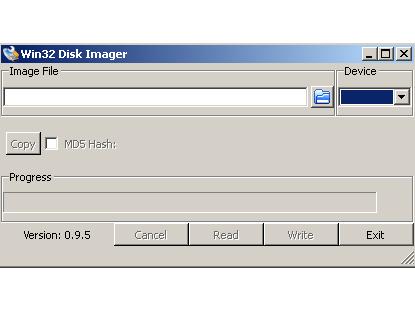
1. Download the Win32DiskImager utility and install it
2. Run the program as Administrator
3. Browse the .img file you recently downloaded
4. Select the name of your SD card in Device – dropdown
5. Press the “Write” button
Install Raspian Image to SD Card with Mac OS
1. From the Apple menu, choose About This Mac, then click on System Report.
2. Click on Card Reader then search for your SD card in the upper right section of the window. Click on it, then search for the BSD name in the lower right section; it will look something like ‘diskn’ where n is a number (for example, disk2). Make sure you take a note of this number
3. Open Disk Utility and unmount your SD card. Do not eject it
4. Open terminal and run:
sudo dd bs=1m if=path_of_your_image.img of=/dev/diskn
don’t forget to replace diskn with the name of your disk from step 2
5. Be patient until the image content is moved to your SD card, it may take up to 20 minutes and more according to your hardware
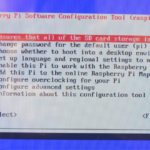
In my next tutorial “Raspberry First Start” I will explain how to plug in the cables and start your Raspberry for the first time.