In the end of this tutorial, you will have installed the right MySQL products needed to develop applications in Spring. You will need two essential things: MySQL Database and MySQL Server. Follow the steps below.

Configuring the MySQL Database
Visit https://www.mysql.com/downloads/ and then select Community downloads, like so:
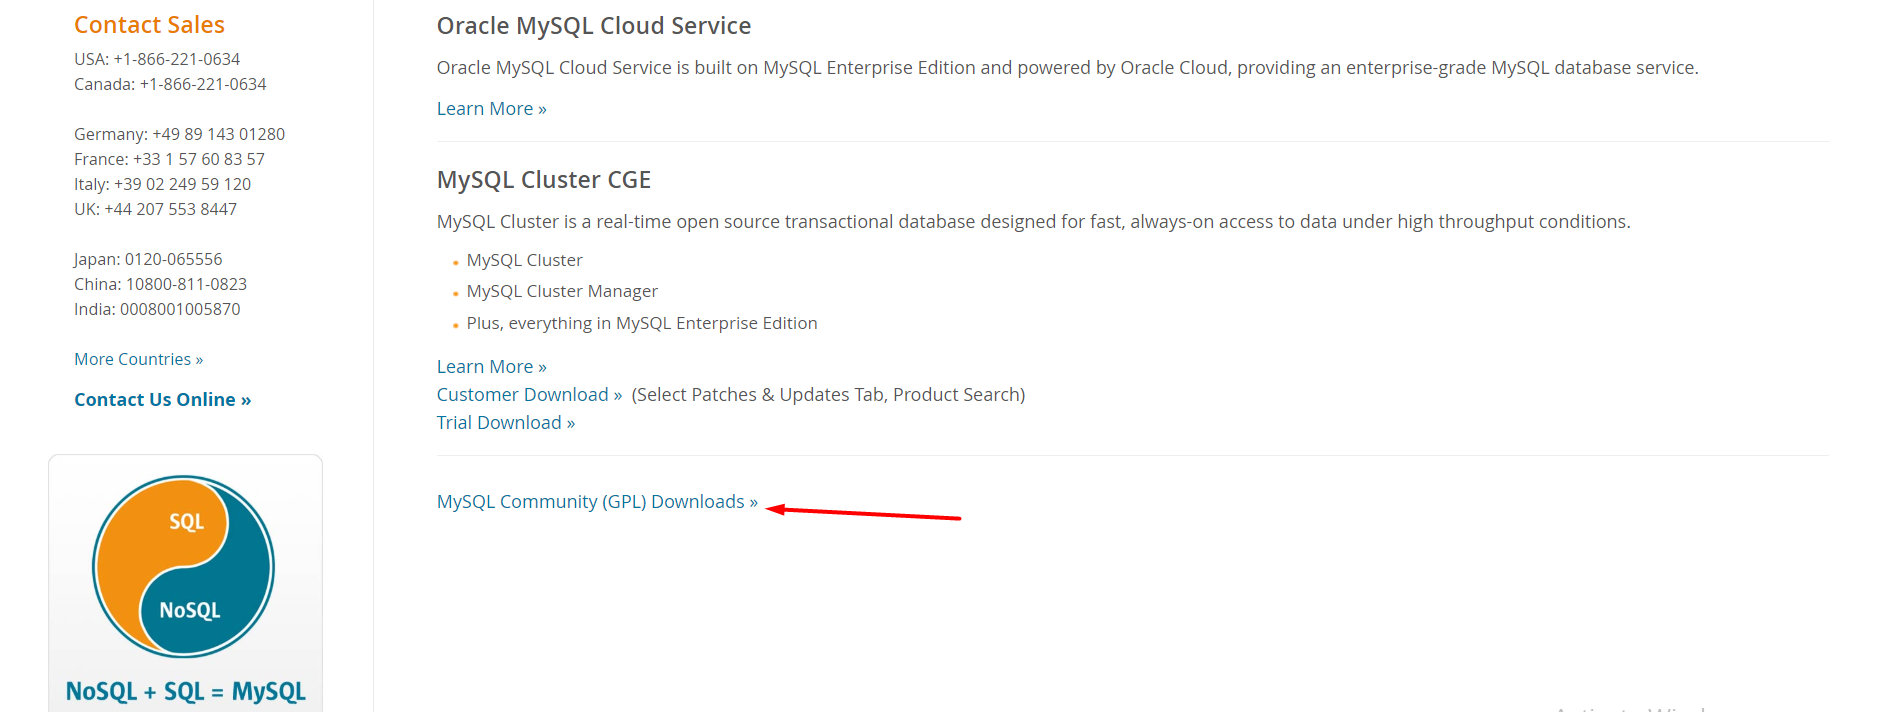
Community Downloads MySQL
On the next page, you will see many listings. The ones we are interested in are the MySQL Community server and Connector/J where J stands for Java.
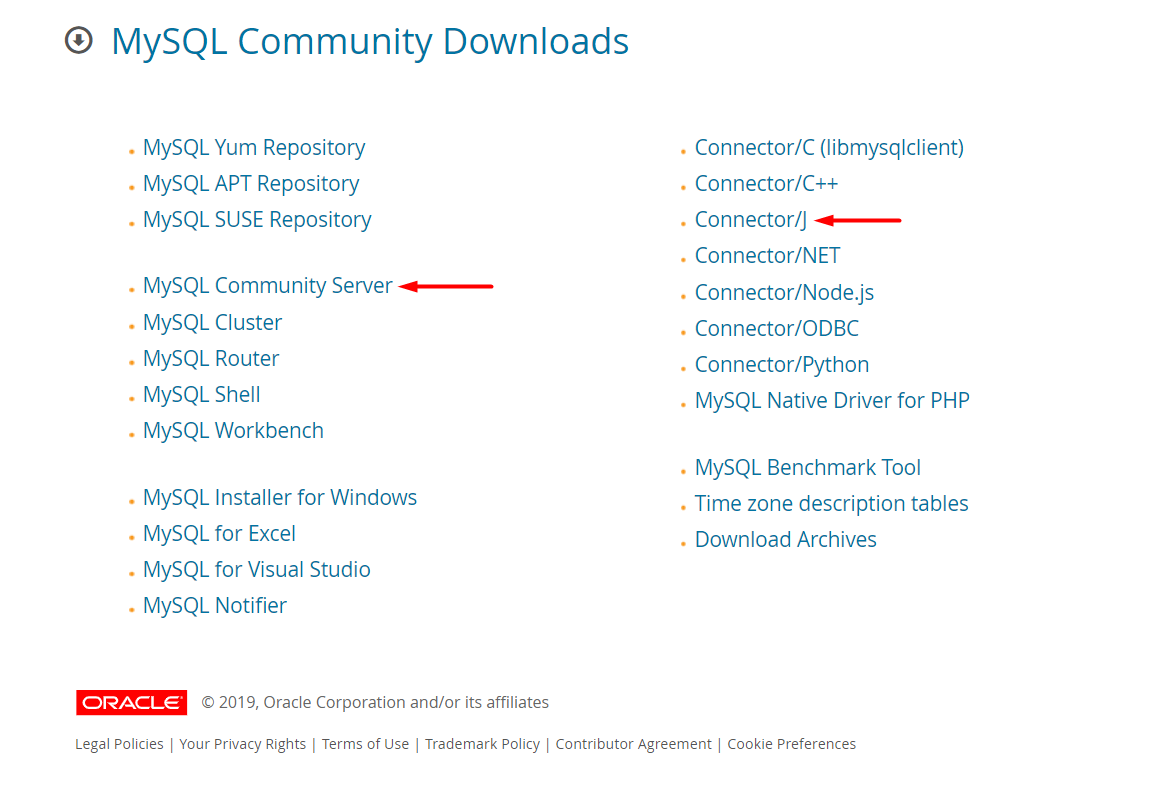
Community server and Java development MySQL
Configuring the MySQL Server
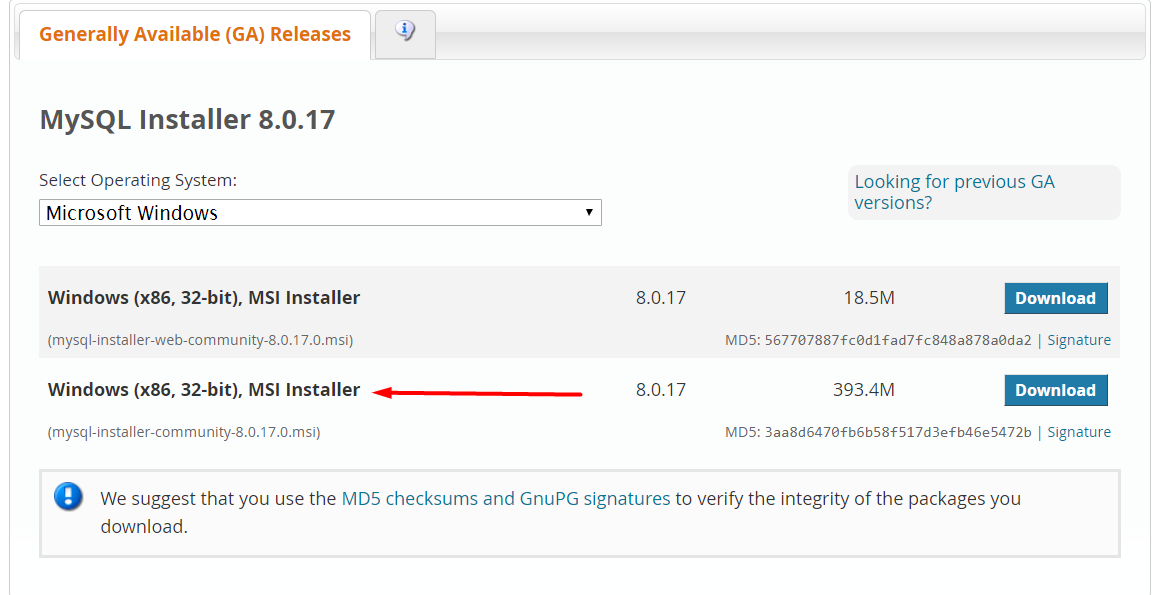
After you have clicked on the MySQL Community Server from the Downloads page, you can see the different installation options. Select your option and download it. If you want to download the MSI installer, click on “Go to Download page”:
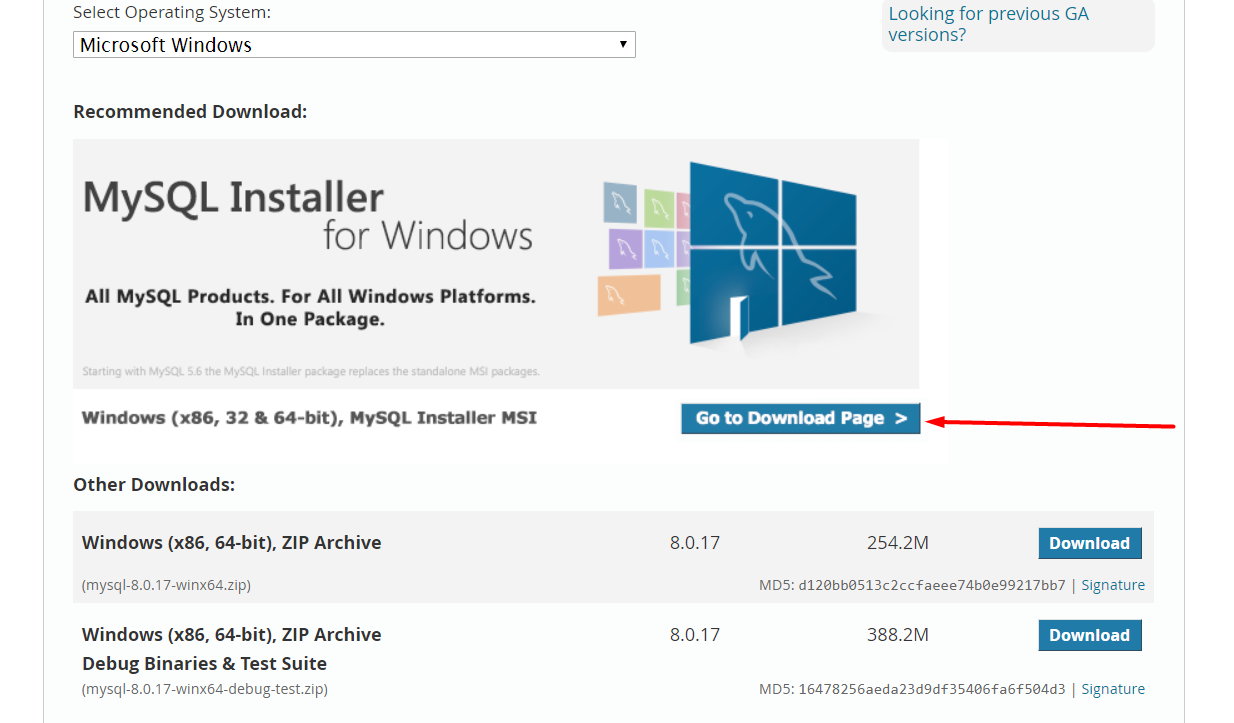
Then, on the next page, select the mysql-installer-community:
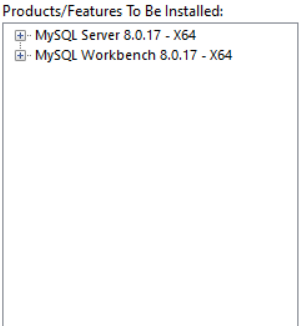
This will download an executable file. When the download has completed, double click on the file and you will see an interface of the installation. After you have accepted the license terms and condition, you will see the sub-window “Choosing a Setup Type“. Click on “Custom” as we do not need all of the MySQL products. More specifically, we will need only the “MySQL Server – X64” and the “MySQL Workbench – X64”.
On the “Installation” sub-window, click on “Execute” to start the installation.
The next step in the installation wizard is choosing the server configuration. That could include adding users, setting the password and manny on. Just use the default instructions where possible.
After you have selected all the configuration options you will see a sub-window that has the “Execute” button on it. Click it to proceed.
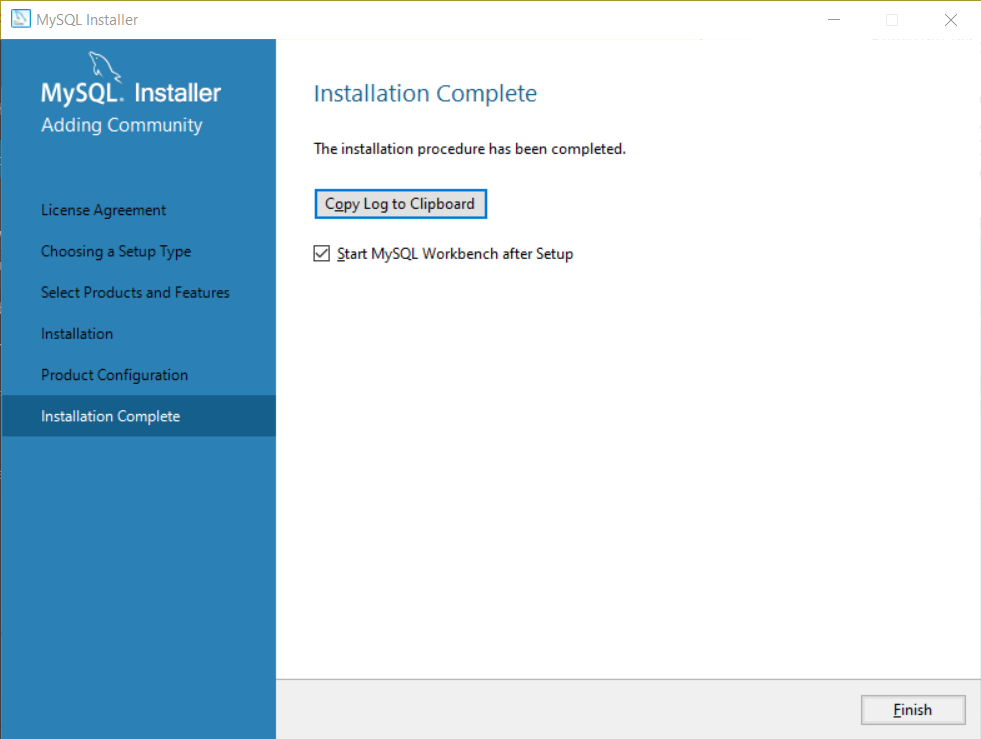
After that, simply click “Finish”. You will have an option to “Start MySQL Workbench after Setup” which means when you click on “Finish” it will start the Workbench.
So there you go! You have successfully installed MySQL Database and MySQL Server to your machine. This is how the MySQL Workbench looks like:

MySQL workbench interface
You can try running a simple query and see how it works.