This tutorial explains and guides you how to install and configure Android Studio in Windows.
Android Studio
As we know Android world is increasing day by day. Billions of Android apps has been published on Google Play store. So it is the need of time that we should learn some basics of Android development. Android Studio is an IDE (Integrated Development Environment) for Android application development.
Features of Android Studio
Following are some interesting features of Android Studio:
- It provides a flexible Gradle-based build system.
- It also support C++ and NDK
- Run your app without building a new APK.
- Provides a virtual device to run and test your app
Installation
Follow steps below for complete installation and configuration of Android Studio.
Step 1) Download Android Studio
You can download Android Studio from this link or go to developer.android.com homepage and search for downloads. Choose appropriate platform either for windows, mac or linux. Following are the pre requirements for windows operating system.
Pre-requirements
- Microsoft windows 7/8/10 (32 or 64 bits)
- Minimum 3GB RAM (recommended 8GB)
- 2GB disk space
- 1280 x 800 minimum screen resolution size
- Intel processor for accelerated emulator
- Android SDK
Note: If you don’t have Android SDK, you can download with Android studio. Go to the end of download’s page and find android-studio-bundle-162.4069837-windows.exe it includes SDK also.
Step 2) Run .exe file
Now the next step is to launch .exe file you just download. Following screen will appear
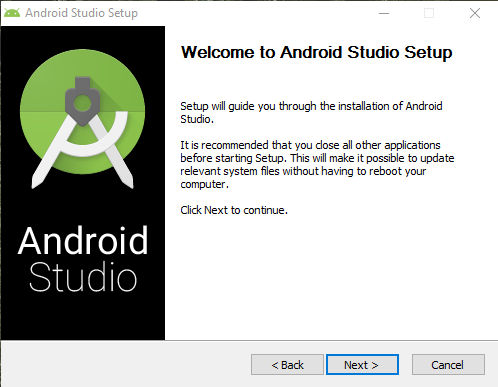
Step 1: Run .exe file
Click next and select Android SDK checked if you don’t have it already. Better is to leave the default settings.
Make sure Android virtual device is also checked.
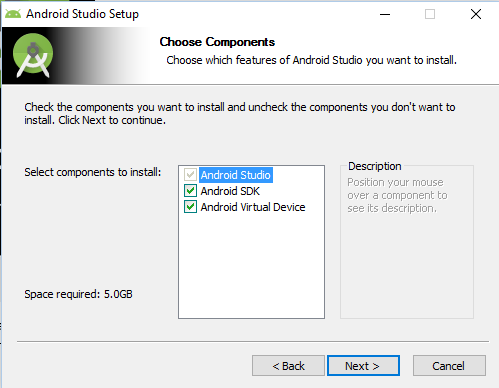
Step 2: Choose components
Next step is to accept license and agreement. Click on I Agree
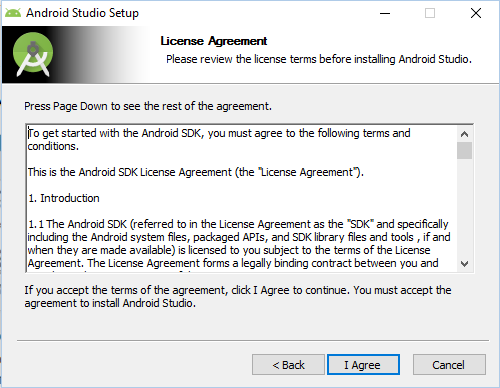
Step 3: Accept license
Next step is to set location of installation. Please make sure your disk has minimum required space before clicking on Next. For Android Studio installation location must have at least 500MB free space. For Android SDK installation, selected location must have at least 3.25GB free space.
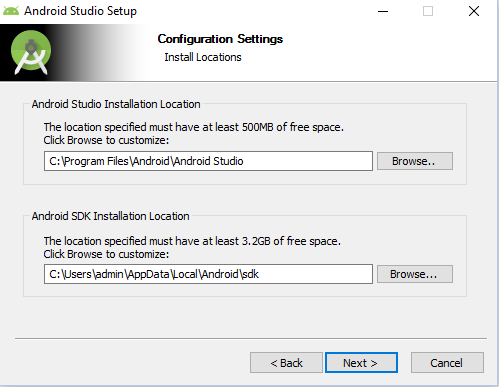
Step 4: Install location
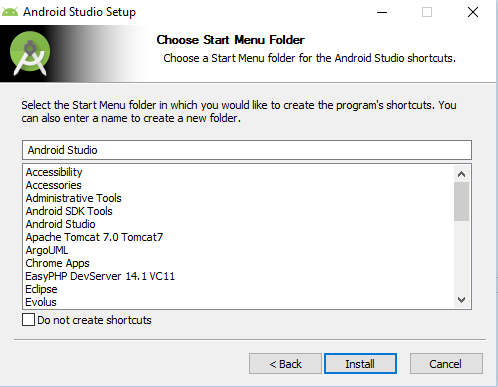
Next step is to choose the start menu folder, where you want to create shortcut. If you don’t want to create a shortcut just mark Do not create shortcut.
Step 5: Choose start menu folder
And hit Install button.
It will start installation. Once it’s done following window will appear.
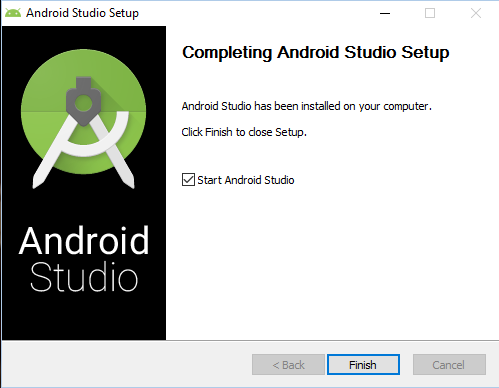
Step 6: Finish
This informs you installation has completed. Click Finish. Make sure Start Android Studio is checked. Following splash screen of Android Studio will appear.

Step 7: Android Studio Splash Screen
Step 3) Configure Android Studio
When you run it for the first time it will ask for Android Studio settings.
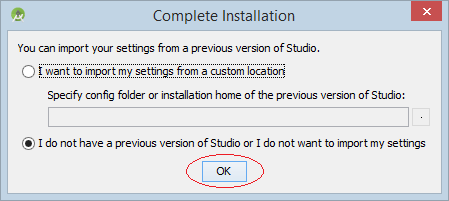
Step 8: Import settings
If you don’t have any previous settings click on the second option (I don’t have a previous version of Studio or I don’t want to import my settings).
Select a theme and click next.
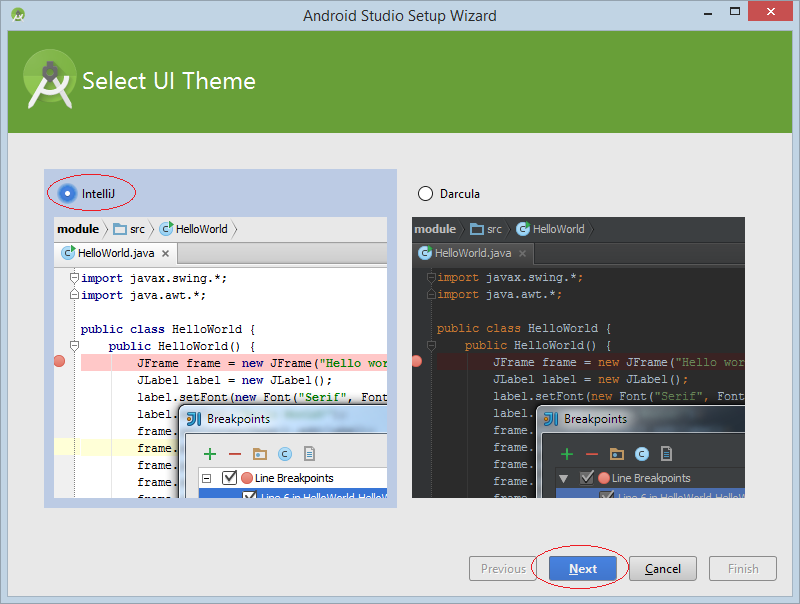
Step 9: Select theme
At the very first run it needs to download some necessary components, wait till it completes.

Step 10: Download components
And it’s all done.
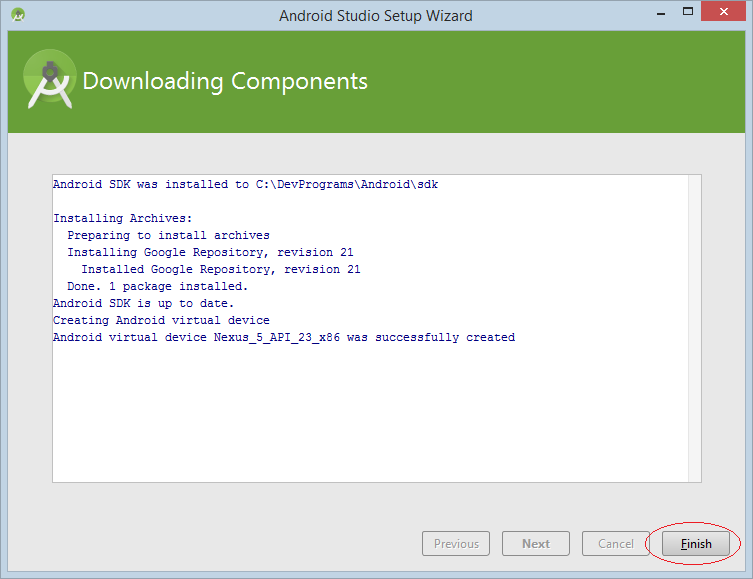
Step 11: Done
Click on Finish and start building your Android apps.
Introduction to Android Studio User Interface
Android Studio is an Integrated Development Environment (IDE). You have seen download and installation in this tutorial. Let’s learn some basics of Android Studio. Here is the a screenshot of a running Android studio.
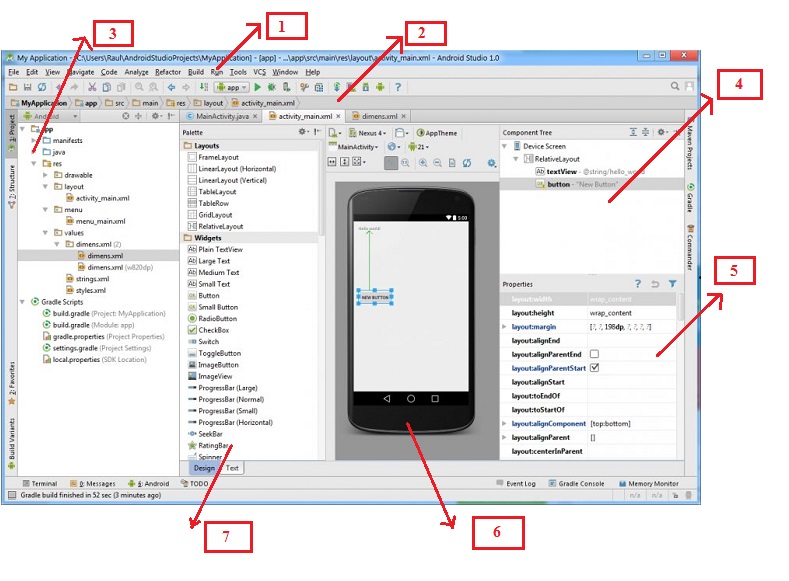
Android Studio screen
Red mark shows
1: Tool bar- It is collection of many tools like cut, copy, paste, run debug and others.
2: Navigation bar- It helps you to navigate through the recent open files of your project.
3: Project hierarchy- It is the hierarchy of your project’s folders.
4: Component Tree- It shows component used in an activity in the form of a tree structure.
5: Properties window- It shows properties of selected item on the screen.
6: Layout editor- It shows graphical layout, how your app will look like.
7: Palette window- Palette window shows component, layouts, and widgets available in Android Studio.

Thanks for posting a detailed guide on this. This is really helpful.
no mention of JDK 8 ??
Is this the only Integrated Development Environment for developing Android applications ??? This is the best representation of the article regarding the Android development tool.
Thanks for sharing this article. It is explained step by step and helped me lot for install and configure Android Studio in my window.
I have amd processor, can you help
helped a lot
thanks
Nice article, but this tutorial is bit old now, as its a setup for old Android studio version. for Latest Android studio installation guide, can follow this tutorial.
Thanks for the detailed post.