This tutorial will explain how to create Java JAR file with Maven with step by step guidelines and screen shots.
Why Need a Java JAR files?
JAR or Java Archive file is an executable file with collection of libraries associated metadata and resources. It is actually a ZIP file having extension .JAR file. As it also contains compiled main class (.class format) so it is used to compress and use the code without execution even without using IDE. It is used to distribute a software program over the network.
So follow this tutorial to learn how to create Java JAR file with Maven and how to set project’s dependencies. The following section explains all requirements and guidelines step by step.
Requirements for creating a JAR file with Maven
- Maven (It is software management and comprehensive tool)
- JDK (Java software development kit)
- Eclipse ( Integrated development environment)
Note:
If you don’t have Maven install Maven plugin for Eclipse. You can easily install Maven plugin with the help menu in Eclipse.
Step 1. Create a new Maven Project
The first step is to create a new Maven Project in Eclipse IDE. For this,
- Open your IDE
- Go to the File, select New and then Project
- A new window will appear, choose Maven project as shown below
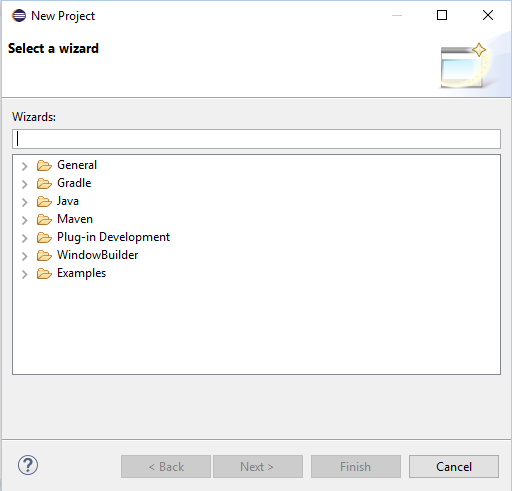
Select Maven project
- Click on Maven and select Maven Project
- In the New Maven Project Wizard, fill artifact information group ID and artifact ID(leave everything default) as shown below

Maven artifact information
- Click Finish, a new Maven project will be created.
- Place all your java source files in srs/main/java directory and create a test file under srs/test/resources
Step 2: Add dependencies
To add build dependencies Maven allow us an easiest way in our pom.xml file. So this dependency will be automatically downloaded and added to your Maven project.
Go to pom.xml file
Add dependency element for JUnit as
<dependencies>
 <dependency>
	 <groupId>junit</groupId>
	 <artifactId>junit</artifactId>
	 <version>4.12</version>
 </dependency>
 </dependencies>
Your pom.xaml will look like
<project xmlns="http://maven.apache.org/POM/4.0.0" xmlns:xsi="http://www.w3.org/2001/XMLSchema-instance" xsi:schemaLocation="http://maven.apache.org/POM/4.0.0 http://maven.apache.org/xsd/maven-4.0.0.xsd">
  <modelVersion>4.0.0</modelVersion>
  <groupId>com.example1</groupId>
  <artifactId>maven</artifactId>
  <version>0.0.1-SNAPSHOT</version>

   <dependencies>
 <dependency>
	 <groupId>junit</groupId>
	 <artifactId>junit</artifactId>
	 <version>4.12</version>
 </dependency>
 </dependencies>
</project>
Click save it will add all jar files.
Step 3: Clean your project
Now clean your Maven project. For this go to the root folder of your project, right click, find Run as in the list and then click on Maven clean command.
Alternative:
If you are using command line you can type mvn clean command.
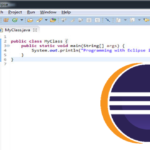
Step 4: Compile all java classes
After cleaning your Maven project, now compile all source file. Right click on your project’s root directory, go to Run As and then click on Maven compile. It will compile all source code. In the project explorer you will see the Target folder is created.
Alternative:
If you are using command line you can type mvn compile command
Step 5: Compile Test Files
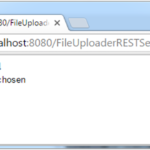
Now the next step is to compile all your test files. For this go to your project’s root name and right click, go to Run as and click on Maven test. After build success you will see surefire-reports folder under target folder. If you open this folder you will see a text file containing build information as following figure shows.
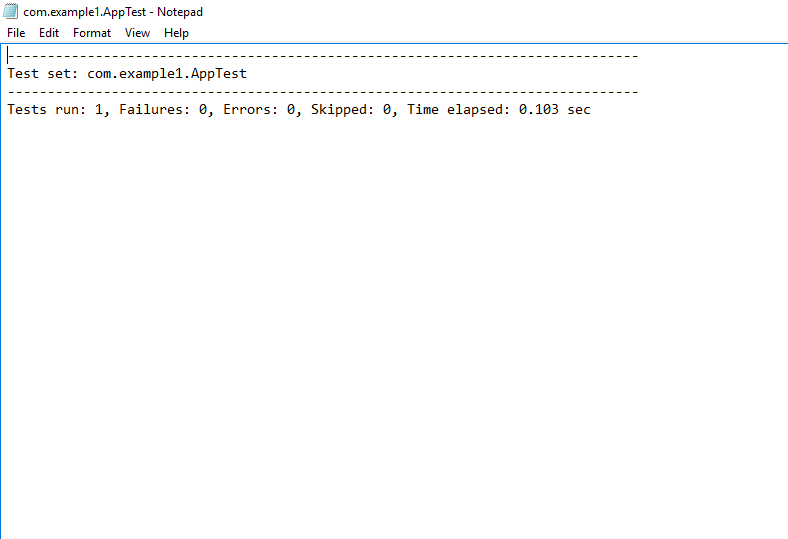
Report File shows build information.
Alternative:
If you are using command line you can type mvn test command
Step 6: Run your Maven Project
Now the last step is to run your project to make JAR file. Right click on your project’s root directory, go to Run as and click Maven install. After build success it will create a JAR file under target folder.
Alternative:
If you are using command line you can type mvn install command
Here it is
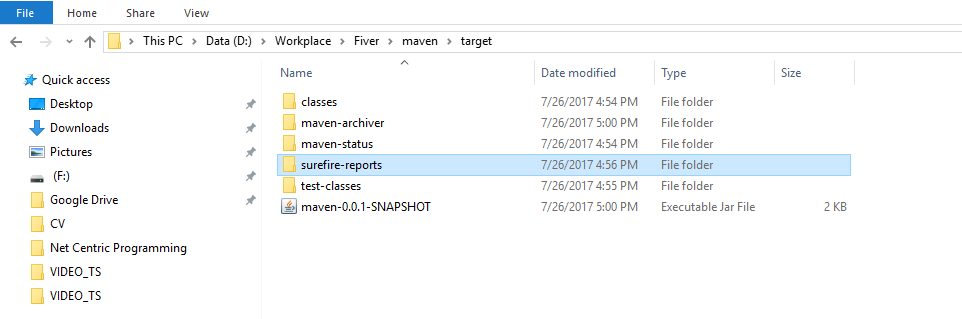
JAR File location
That’s it you are done with creating JAR file with Maven. Here is the complete project you can download.