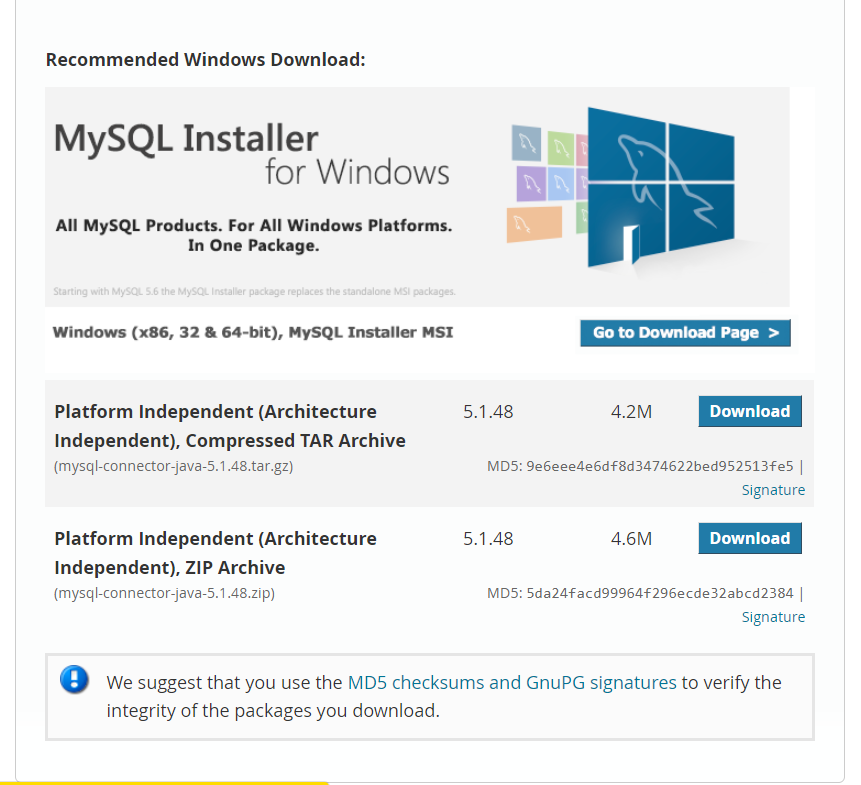
Before testing the MySQL connection from a Java program, we’ll need to add the MySQL JDBC library to the classpath. We will need to download the mysql-connector-java-*.jar file from the downloads page:
Now, depending upon your work environment (e.g. Eclipse or Command line) you will have to do either one:
- If working with Eclipse IDE, add the JAR file as a library to the Build Path in the project properties.
- If working with the command console, specify the JAR file’s path in the -cp or -classpath arguments when executing the application.
An example of how a command line execution would look like:
java -cp .;/xxx/xxx/xxx/mysql-connector-java-*.jar com.nameapp.ClassName
Now that we have clarified this, let’s connect to the MySQL database from a Java class.
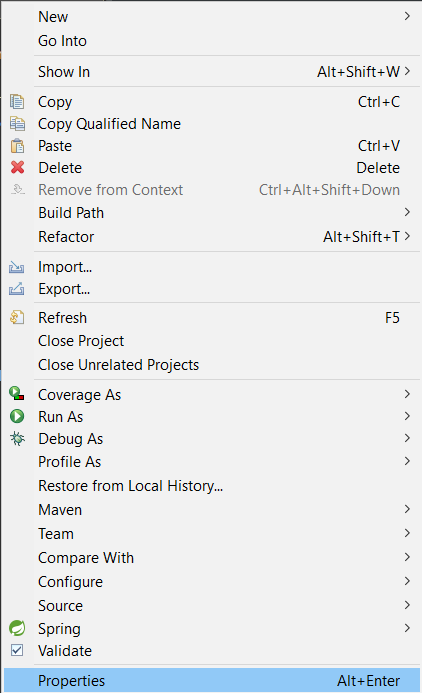
Create your project in Eclipse and then right click on the Project’s name and select Properties. After that navigate to the “Java Build Path” and add the .jar file by clicking on “Add External JARs..”. You can view the following images to show you the steps:
(1)
(2)

Done. Now that we added the JAR file, it’s time to create our MySQL database. I am assuming that you have the MySQL workbench downloaded. If not, download from here.
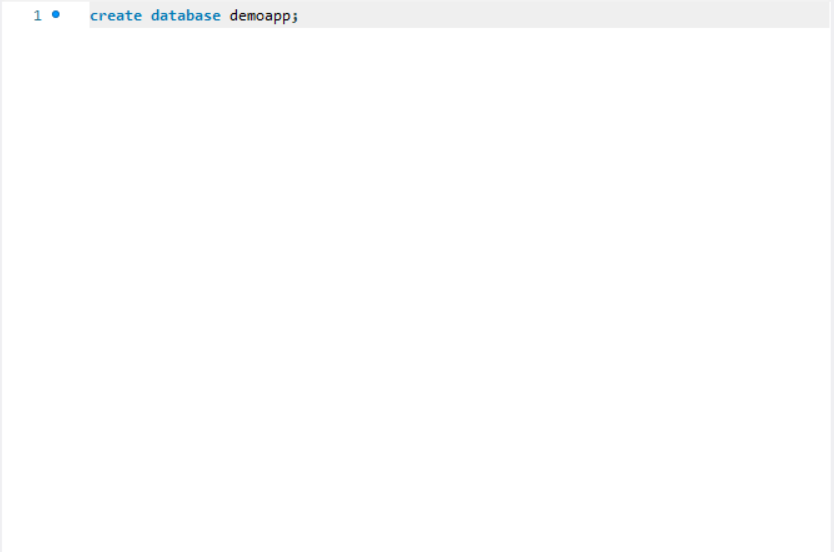
To create the database simply type
create database demoapp;
Then, to verify that the database has indeed been created, type
show databases;
You should see something like the following:
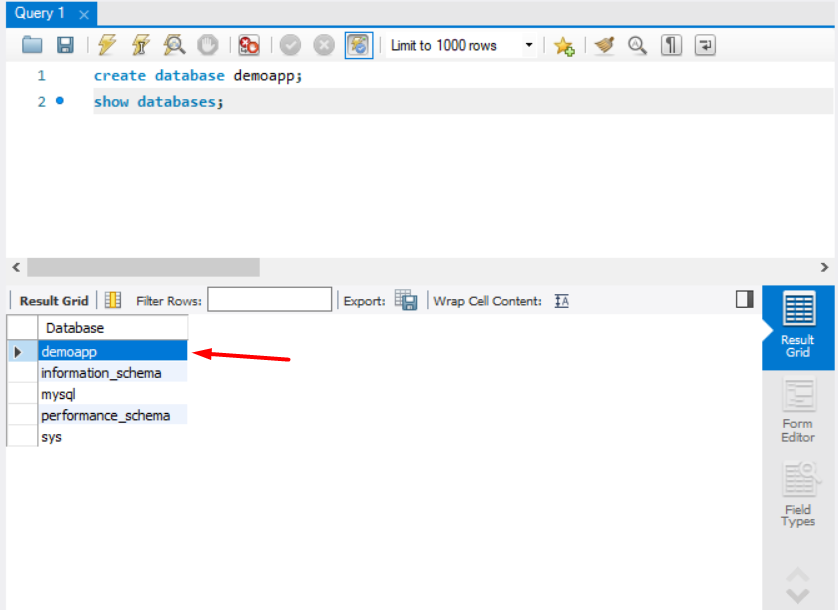
As you can see, the “demoapp” appears as a database.
Now, the final step is to test the connection to that databse from a Java class.
Here is a sample Java class with a main method that tries to establish a connection to the database:
package mysqlconnection.mysqlconnection;

import java.sql.Connection;
import java.sql.DriverManager;
import java.sql.SQLException;

public class App
{
    public static void main( String[] args )
    {
        String url = "jdbc:mysql://localhost:3306/demoapp";

        String username = "root";
        String password = "admin123";

        // try to establish the connection to the database
        try {
        	Connection connection = DriverManager.getConnection(url, username, password);
        	System.out.println("Connection established successfully!");
        }
        // if the connection couldn't be established raise an exception
        catch (SQLException e) {
        	throw new IllegalStateException("Unable to connect to the database. " + e.getMessage());
        }
    }
}
Output:

Ignore the warning for now.
Breakdown
We store the localhost url in a variable called “url”. The jdbc part is the API and demoapp is the name of the database. Then we store the username and the password. A key note here is that the password needs to be the same with the one you chose while installing MySQL. After that we have a Try{} Catch{} block. The catch block will get executed if the database connection could not be established. In the try block, we get the connection of the url and the username/password. After that we simply print “Connection established successfully!”.
Just one thing – if you forgot to add the .jar file in the build path in the project, the connection won’t establish and the catch block will get executed. So it is very important you don’t forget to add the JAR file.