We do not normally need additional dependencies when it comes to creating an executable jar. All we need to do is create a Maven Java project and have a minimum of 1 class alongside the main method.
Please note that we assume you have Maven installed on your machine. In case you don’t, follow this tutorial for a quick step-by-step guide.
Let’s start by creating our Maven project in Eclipse.
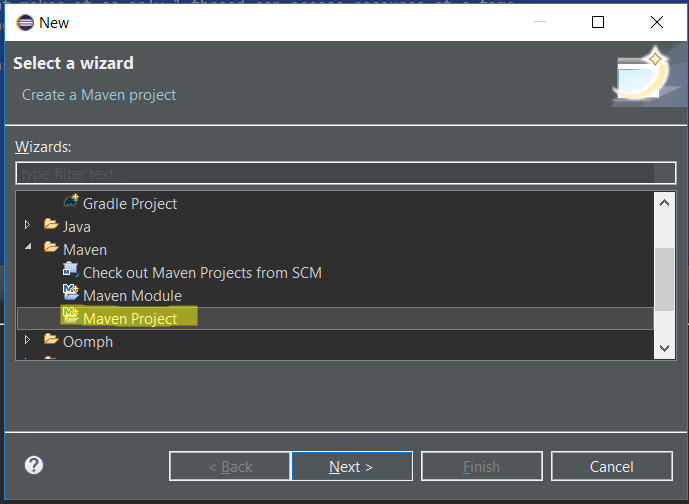
Step 1 – Open Eclipse and create a new Maven project (File->New->Other->Maven Project)
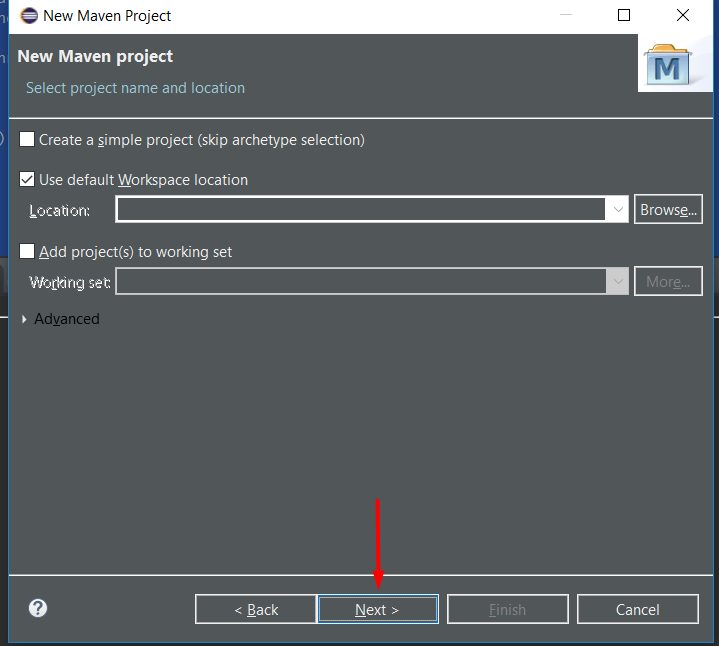
Step 2 – After you have created the Maven Project, click on Next on the new Window, like so:
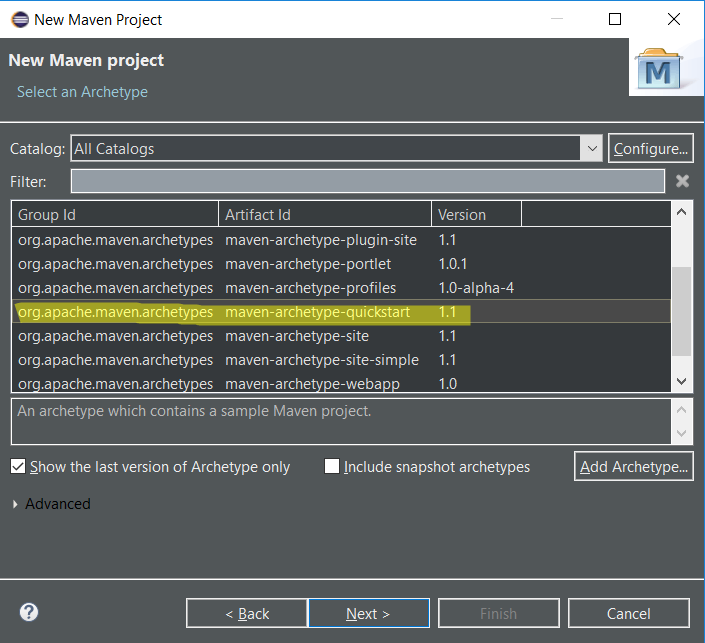
Step 3 – Select maven-archetype-quickstart and click Next like so:
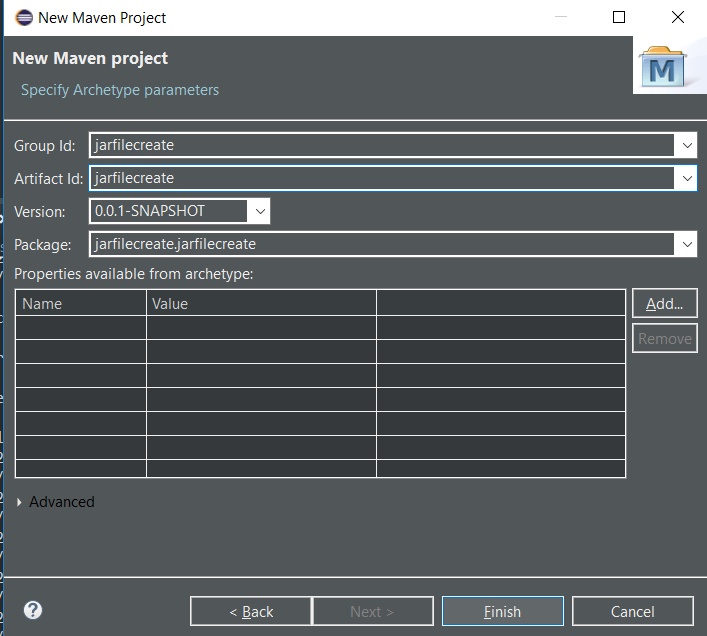
Step 4 – Give a Group and Artifact Id and click on finish:
Now our Maven Project has been created in Eclipse.
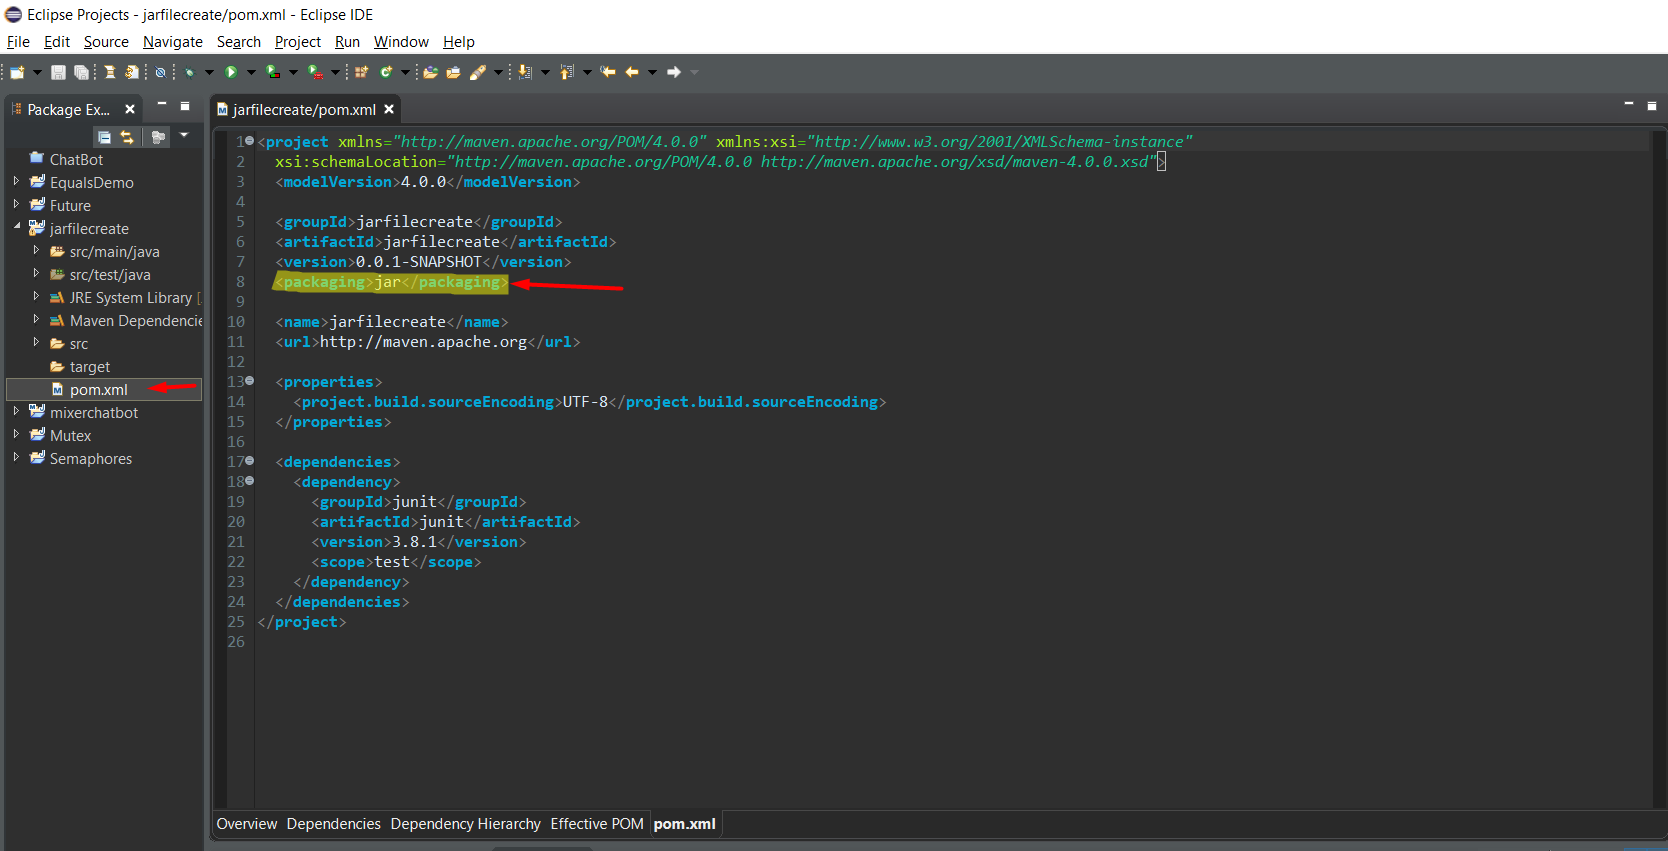
When you open up your pom.xml, it should look like this:
<project xmlns="http://maven.apache.org/POM/4.0.0" xmlns:xsi="http://www.w3.org/2001/XMLSchema-instance"
  xsi:schemaLocation="http://maven.apache.org/POM/4.0.0 http://maven.apache.org/xsd/maven-4.0.0.xsd">
  <modelVersion>4.0.0</modelVersion>

  <groupId>jarfilecreate</groupId>
  <artifactId>jarfilecreate</artifactId>
  <version>0.0.1-SNAPSHOT</version>
  <packaging>jar</packaging>

  <name>jarfilecreate</name>
  <url>http://maven.apache.org</url>

  <properties>
    <project.build.sourceEncoding>UTF-8</project.build.sourceEncoding>
  </properties>

  <dependencies>
    <dependency>
      <groupId>junit</groupId>
      <artifactId>junit</artifactId>
      <version>3.8.1</version>
      <scope>test</scope>
    </dependency>
  </dependencies>
</project>
The highlighted line in our xml file specifies that the file we will be creating will be jar. You can also delete that if you want to because by default, the packaging is jar.
So far, we have created our Maven project in Eclipse and also specified the file we will be creating which will be of type jar. Great.
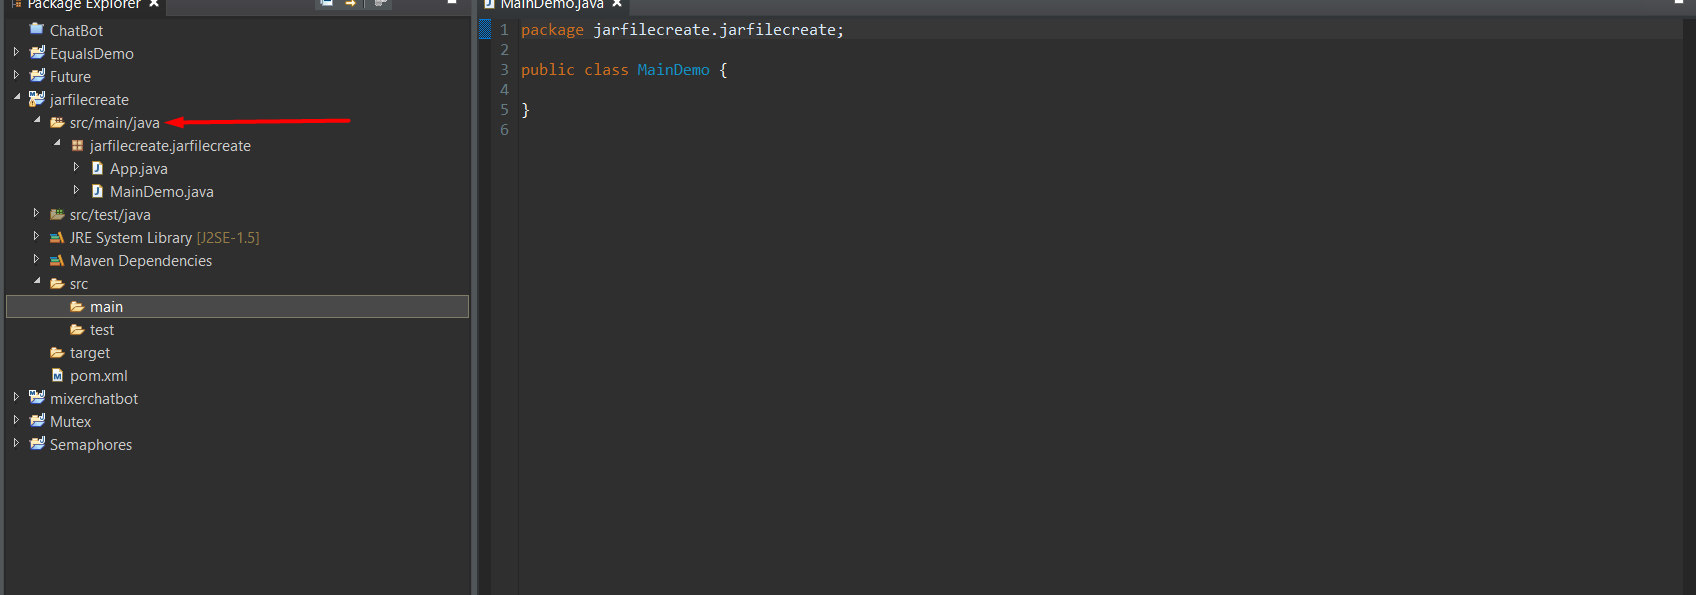
Step 5 – Let’s add a class that has a main method. Important: we need to add it in src/main/:
Add a print statement within the main method. That wlil do for the purposes of this tutorial.
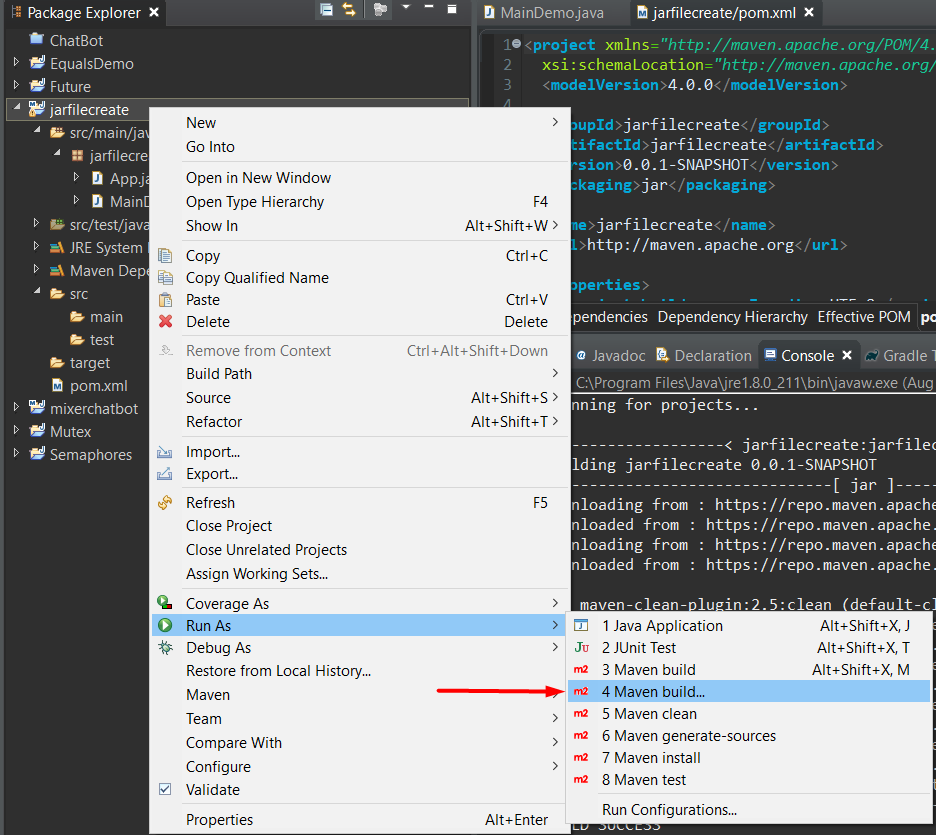
Step 7 – To finally create the jar file, right click on Project->Run As->Maven build->type ‘package’:
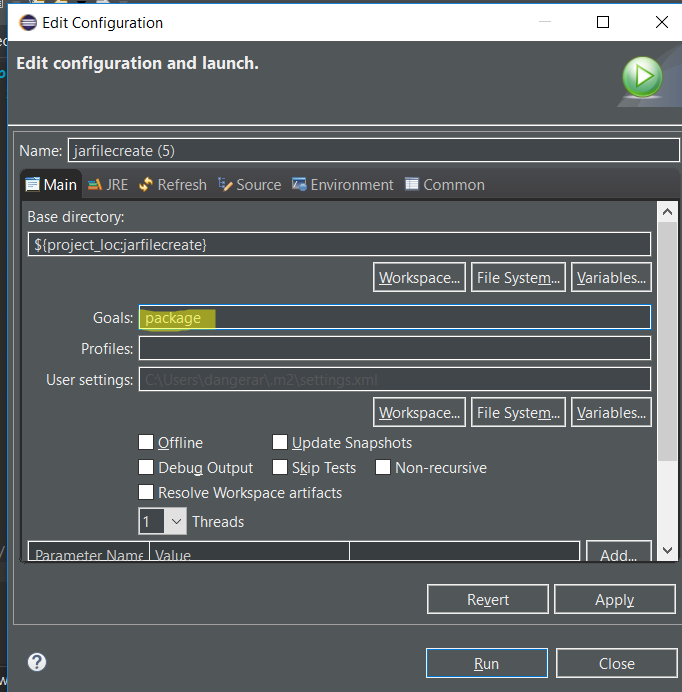
After that, just type package:
Click run and you should see something like:
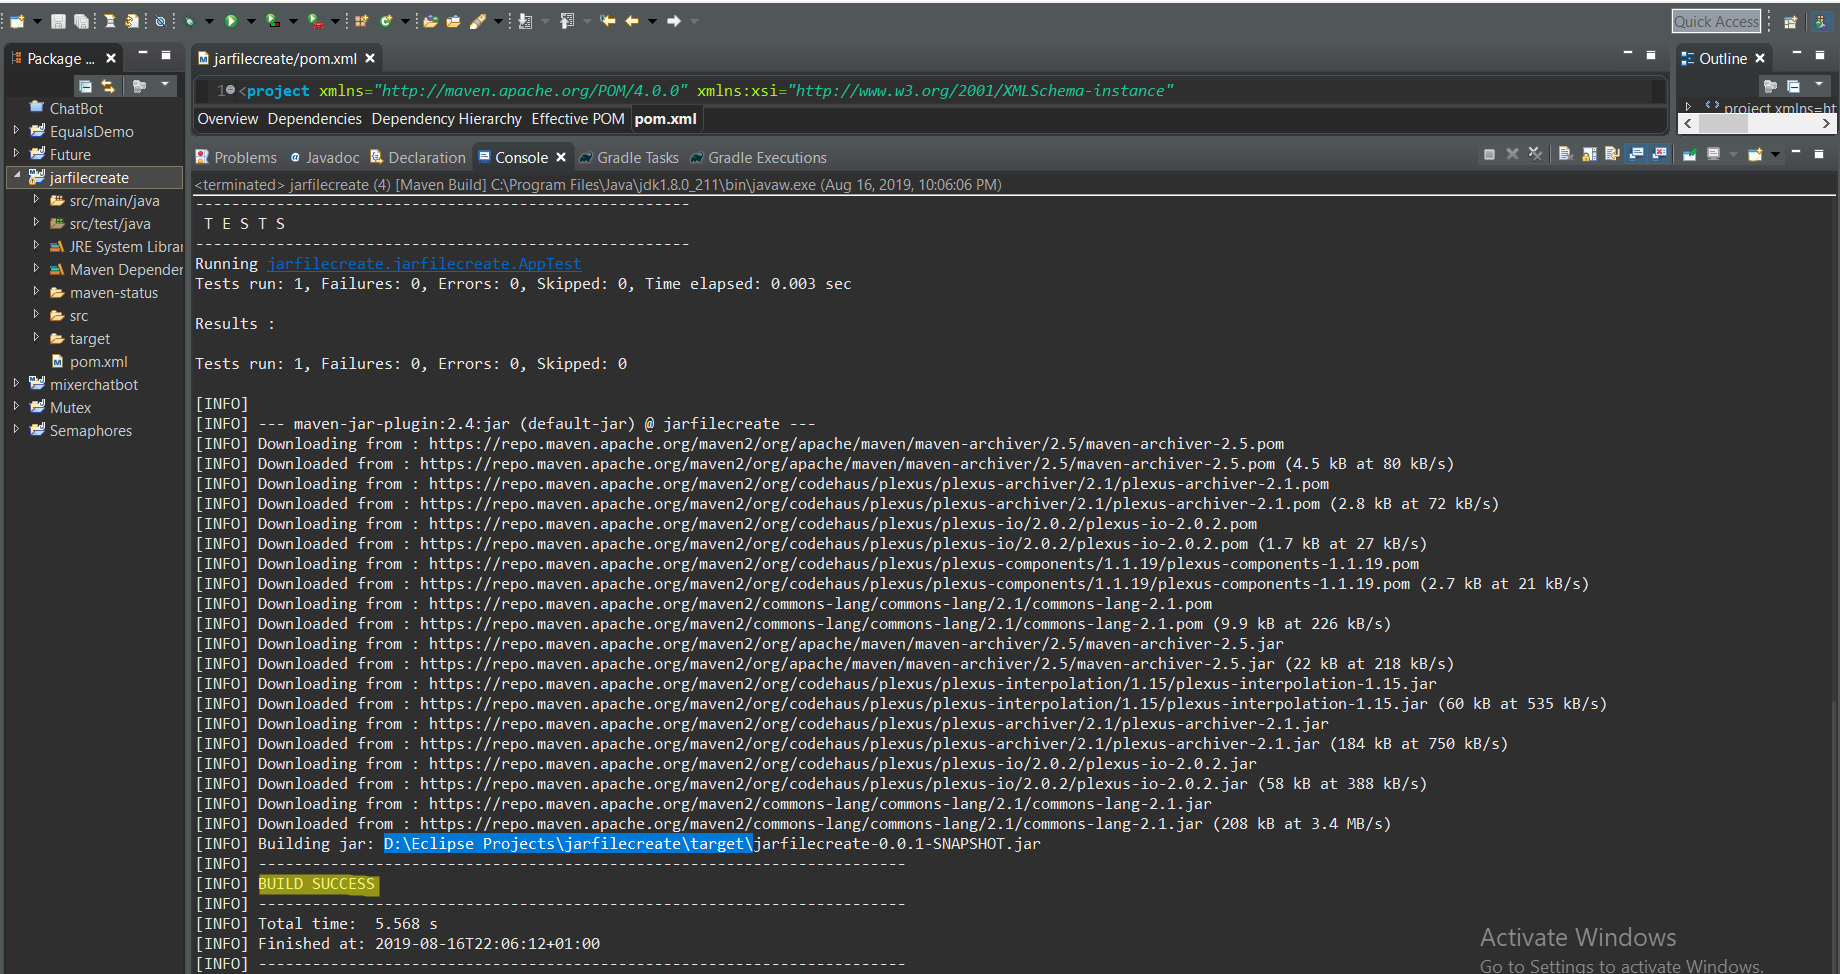
The highlighted text in blue shows where my jar file got stored. Usually, it gets stored in your target folder. Let’s copy the path folder from there and paste it and see if the jar file is there.
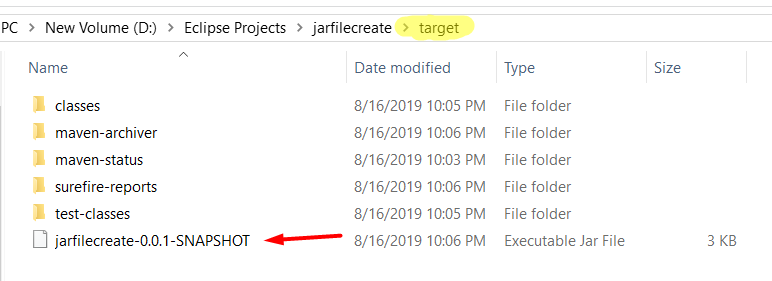
Alternatively, if you are using the Terminal, to get the jar file, you would need to type mvn package and this will result in the same thing.